How Do You Plan Kitchen Lighting for a Scottsdale Home?
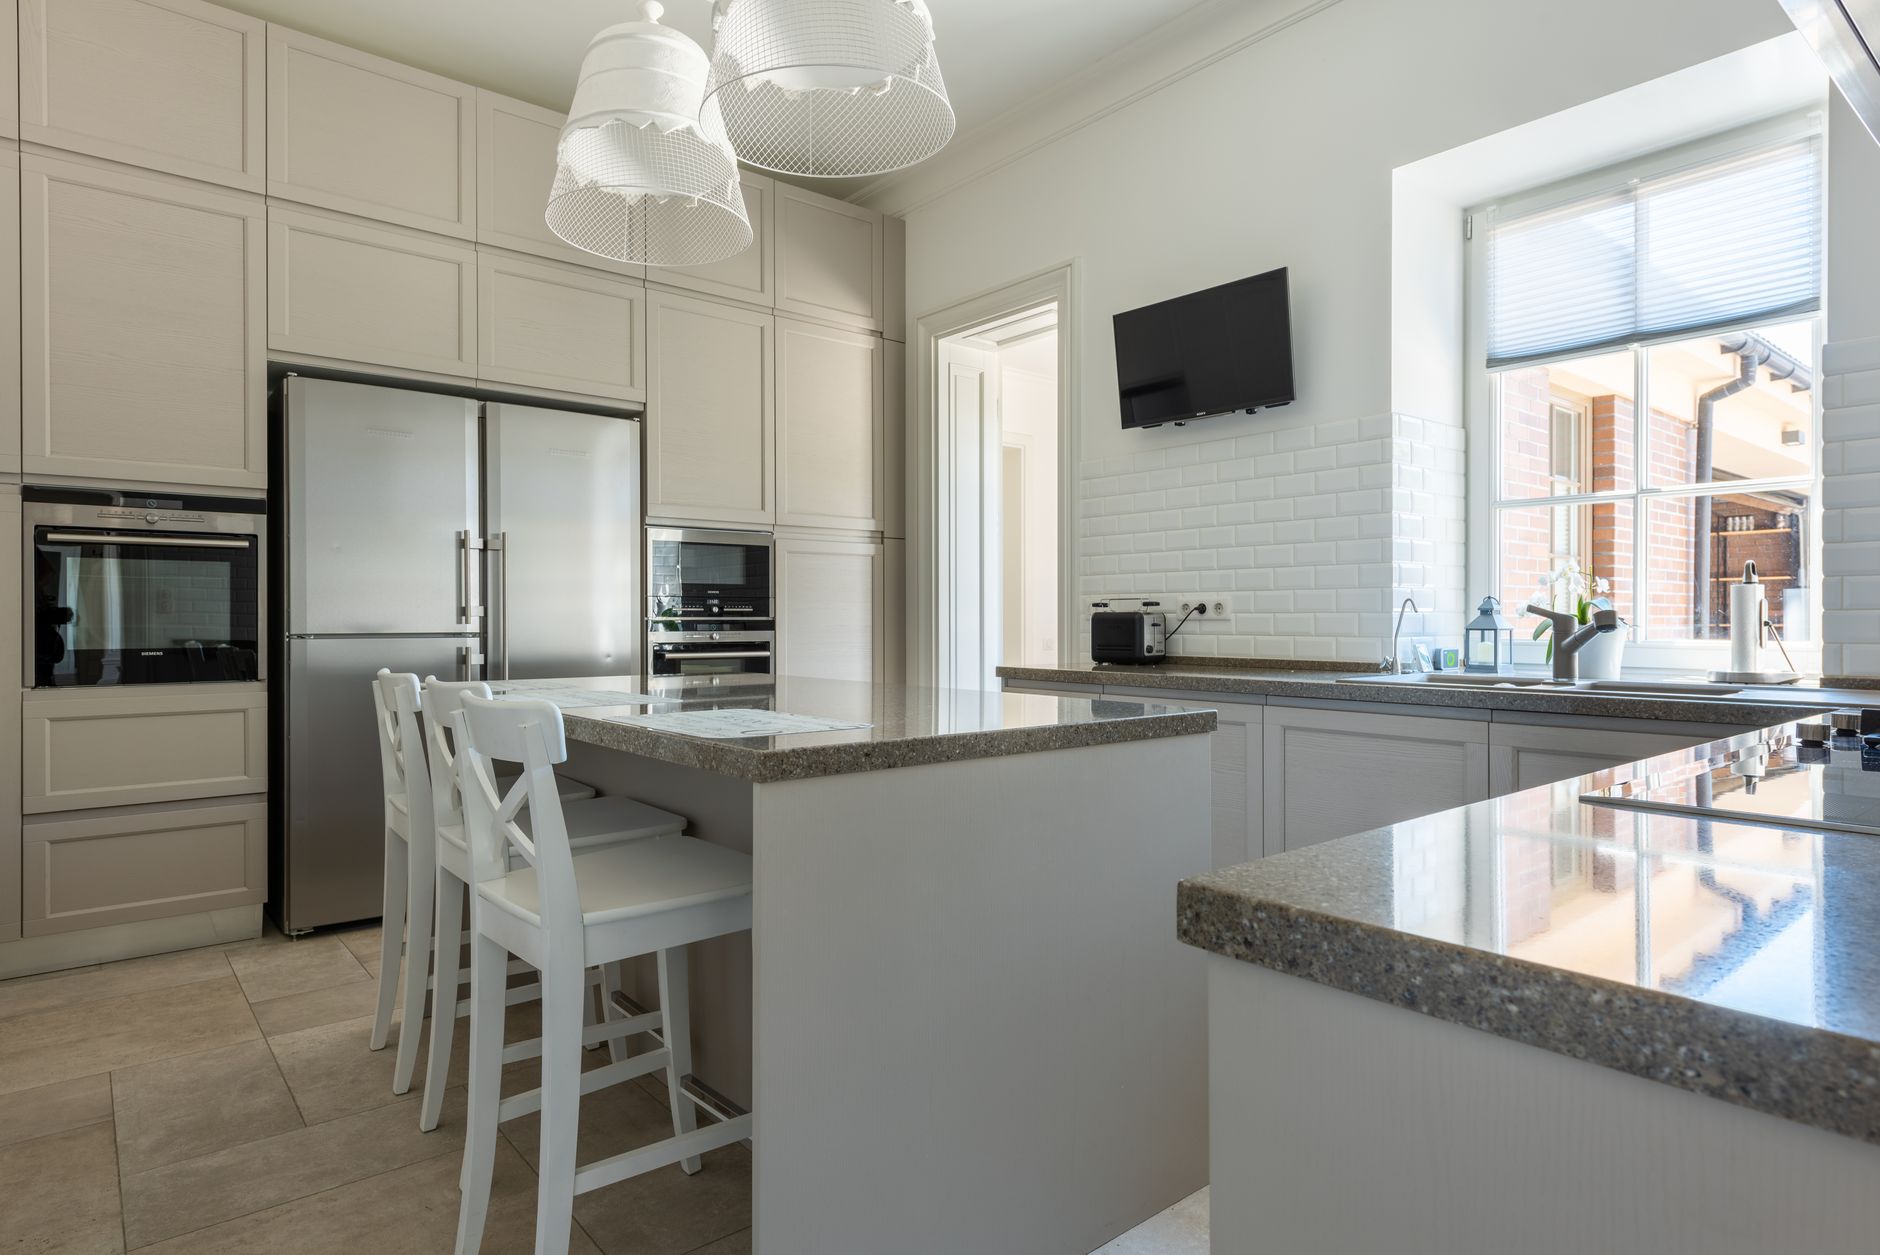
Lighting is the last thing most people think about in a kitchen and the first thing they notice once it is wrong. A room with six ceiling cans and nothing else throws a shadow of your own head across the cutting board. A room with one big fixture in the middle leaves the sink in the dark. Planning the lighting early, while the ceiling and walls are still open, is the difference between a kitchen that works at six in the morning and one that only looks good in a photograph.
Why does a Scottsdale kitchen need a lighting plan before cabinets?
Wiring is cheap to move while the drywall is off and a headache to move afterward. The electrician needs to know where the island sits, where the upper cabinets stop, and where the range hood lands before running a single cable. Pendants over an island need a box in the ceiling joists or blocking above the drywall. Under-cabinet strips need a power feed inside the wall behind the uppers. If the cabinet layout changes after the cans are cut in, the cans end up over the doors instead of over the counter.
Scottsdale adds its own wrinkles. Many homes here have vaulted or beamed ceilings, flat roofs with shallow attic space, or concrete block walls that make a new cable run a real job. A flat roof with a few inches of insulation leaves little room for a recessed can, and the heat from an old halogen housing in a hot attic is a known problem. Slim LED fixtures that sit close to the ceiling fit in those tight spots where a deep can would not.
What are the three layers of kitchen light?
A working kitchen needs three kinds of light, each doing a different job, and each on its own switch.
- Ambient light fills the whole room. This is the ceiling cans, a flush fixture or a cove, and it should be bright enough to see across the room without glare.
- Task light lands on the surfaces where hands work. Under-cabinet strips, a light over the sink and the glow from a range hood belong here.
- Accent light adds depth and mood. Toe-kick strips, lights inside glass-front cabinets and a pendant over an island are accent or mixed-use fixtures.
Most kitchens that feel flat have only the first layer. Most kitchens that feel harsh have ambient light set too bright and nothing else to balance it. Splitting the layers across separate switches, with dimmers on the ambient and accent circuits, lets the room change from a prep space to a dinner space without anyone climbing a ladder.
Where do recessed cans go?
The common mistake is spacing cans in an even grid across the ceiling. A grid ignores the cabinets. A can directly above a person standing at the counter throws the shadow onto the work surface, so cans are better placed a foot or so in front of the face of the upper cabinets. That puts the light on the counter and the cabinet doors instead of behind the cook.
Spacing depends on the ceiling height and the size of the opening, but a rough habit is to keep the distance between cans close to the ceiling height. A nine-foot ceiling takes cans about four to five feet apart. Cans near a window wall can be spaced wider because daylight does part of the work, and daylight in the Sonoran Desert is strong enough that many Scottsdale kitchens are brightest at midday and rely on electric light only at the edges of the day.
Color temperature matters as much as position. Warm white around twenty-seven hundred kelvin feels like an incandescent bulb, and cooler fixtures near four thousand kelvin look clinical next to wood cabinets. Mixing temperatures in one room is a common reason a finished kitchen looks off. Pick one temperature and buy every fixture, strip and bulb in that range.
How should under-cabinet lighting be run?
Under-cabinet strips are the most useful single fixture in the kitchen, because they put light exactly where knives and cutting boards live. Linear LED strips mounted toward the front of the cabinet, not against the wall, reduce the hot spot of reflection on a polished countertop. Granite and quartz with a high polish show a bright stripe from a strip set too far back, while a honed or leathered surface forgives it.
The wiring choices are hardwired or plug-in. A hardwired run is cleaner and sits on a switch, while plug-in strips need a receptacle inside the upper cabinet or a visible cord. The decision is made before the drywall closes, when a box can be added behind the uppers. A dimmer compatible with the strip's driver is required, and cheap mismatched drivers are the usual source of flicker.
Which switches and circuits does a lighting plan need?
The table below shows a common split for a mid-sized kitchen. The numbers of fixtures vary, but the idea of separate control stays the same.
| Layer | Typical fixtures | Control |
|---|---|---|
| Ambient | Recessed cans, flush ceiling fixture | Dimmer at the main entrance |
| Task | Under-cabinet strips, sink light | Switch near the range or counter |
| Accent | Pendants, toe-kick strips, cabinet interior | Dimmer near the island |
| Hood and fan | Range hood lights and blower | Controls on the hood itself |
Switches should be at the door a person actually uses. In a Scottsdale home with a garage entry, the switch needs to be right inside that door, because most people carry groceries in that way. A three-way switch lets the same lights be controlled from two doorways, which matters in an open plan kitchen that opens to a family room.
What about pendants over an island?
Pendants hang low enough to read as a feature and high enough to avoid blocking the view across the island. A bottom edge roughly thirty to thirty-six inches above the countertop works for most people, with a longer drop for a tall ceiling. Spacing follows the island's length: pendants a little wider than a third of the island apart look balanced, and pairs of two or three feel better than a single large one on a long island.
The box for a pendant has to carry the weight. A heavy glass or metal fixture on a plain plastic box is a fall waiting to happen, and the structure above the drywall has to support it. When a Scottsdale kitchen has a flat roof with trusses, the framer can add blocking between them before the ceiling goes up, which is easier than patching later.
How does daylight change the plan?
Windows facing the McDowell Mountains or west toward the evening sun fill a kitchen with strong light, and that light changes through the day. A plan that works at noon can leave the room dim at six in the evening. Dimmers and layered circuits let electric light pick up where daylight fades, and a light over the sink helps on dark mornings in winter when the sun is still low.
Glare is the other face of daylight. A pendant or can that reflects off a glossy backsplash into the eyes while the sun is also streaming in becomes a tired-eye problem. Matte or textured backsplash tiles scatter that reflection, and adjustable gimbal cans aim the beam away from the cook's face.
What should be decided before work starts?
A short list settles most arguments before they cost money: the color temperature for every fixture, the location of each switch, which lights run on a dimmer, and what the island pendants hang from. With those four decisions written down and shown to the electrician, the rough-in goes in once and the finish work follows without surprises.
A kitchen is lit well when no one notices the lighting at all. They only notice that the counter is clear to see, the sink is bright, and the room looks good at night.